
USERS HELP
ADDING BRAND NEW USERS
To add a new user to your Chefsbk (the number of which will depend on the Chefsbk package you are using) go to your MANAGE tab and select MANAGE USERS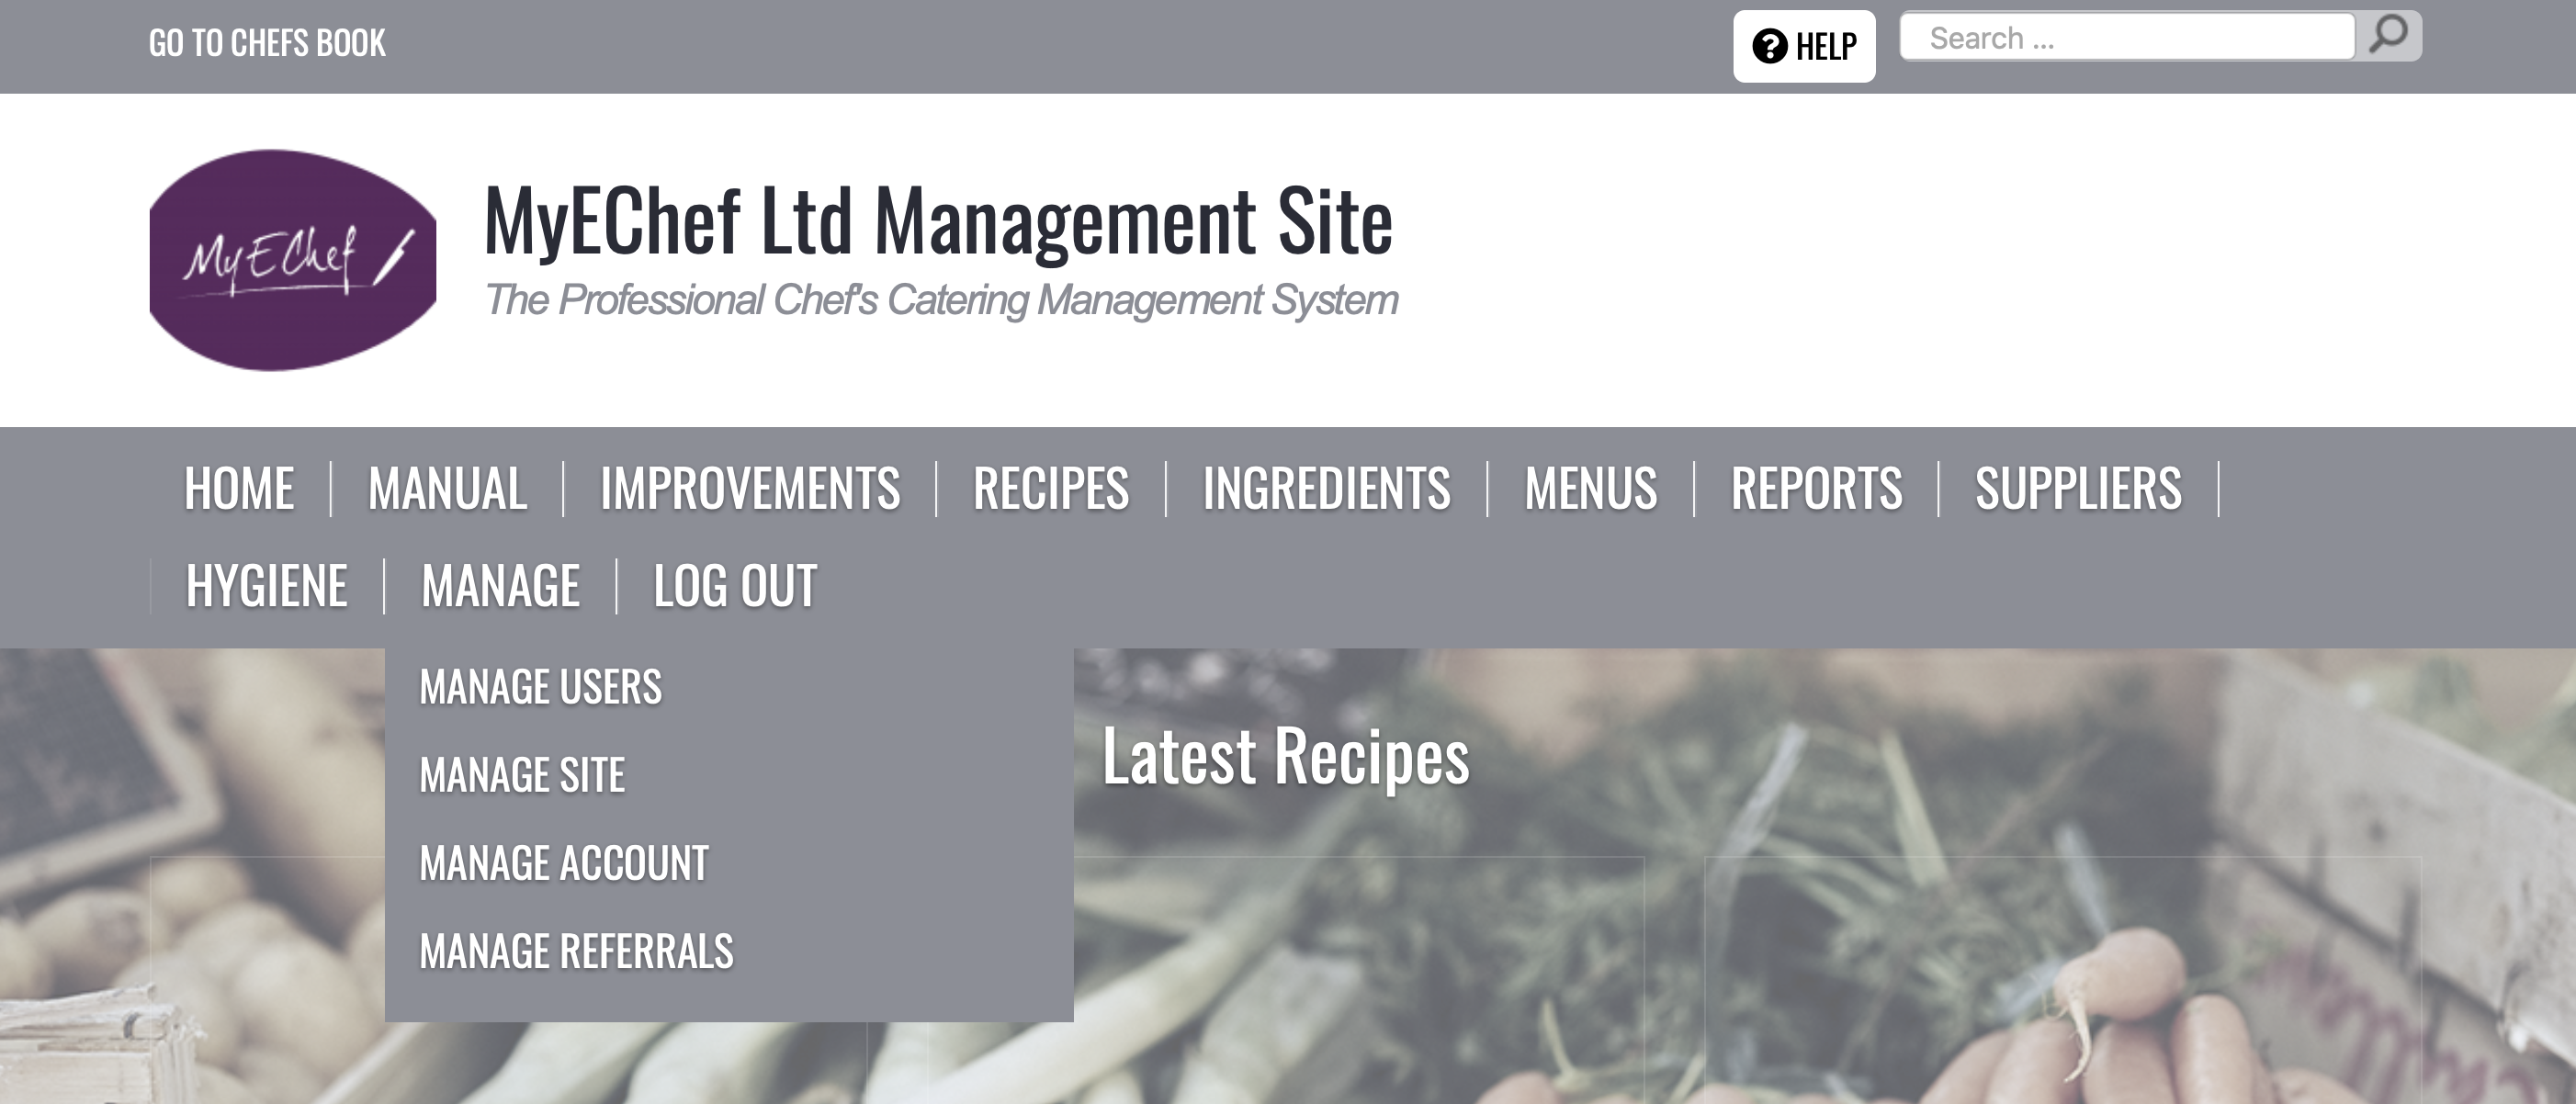
You will need to have “Controller” log in permissions to do this.
Clicking the Manage Users row opens summary of all users attached to your Chefsbk.
From here, to add a new user, click the INVITE USER button
This opens the invitation form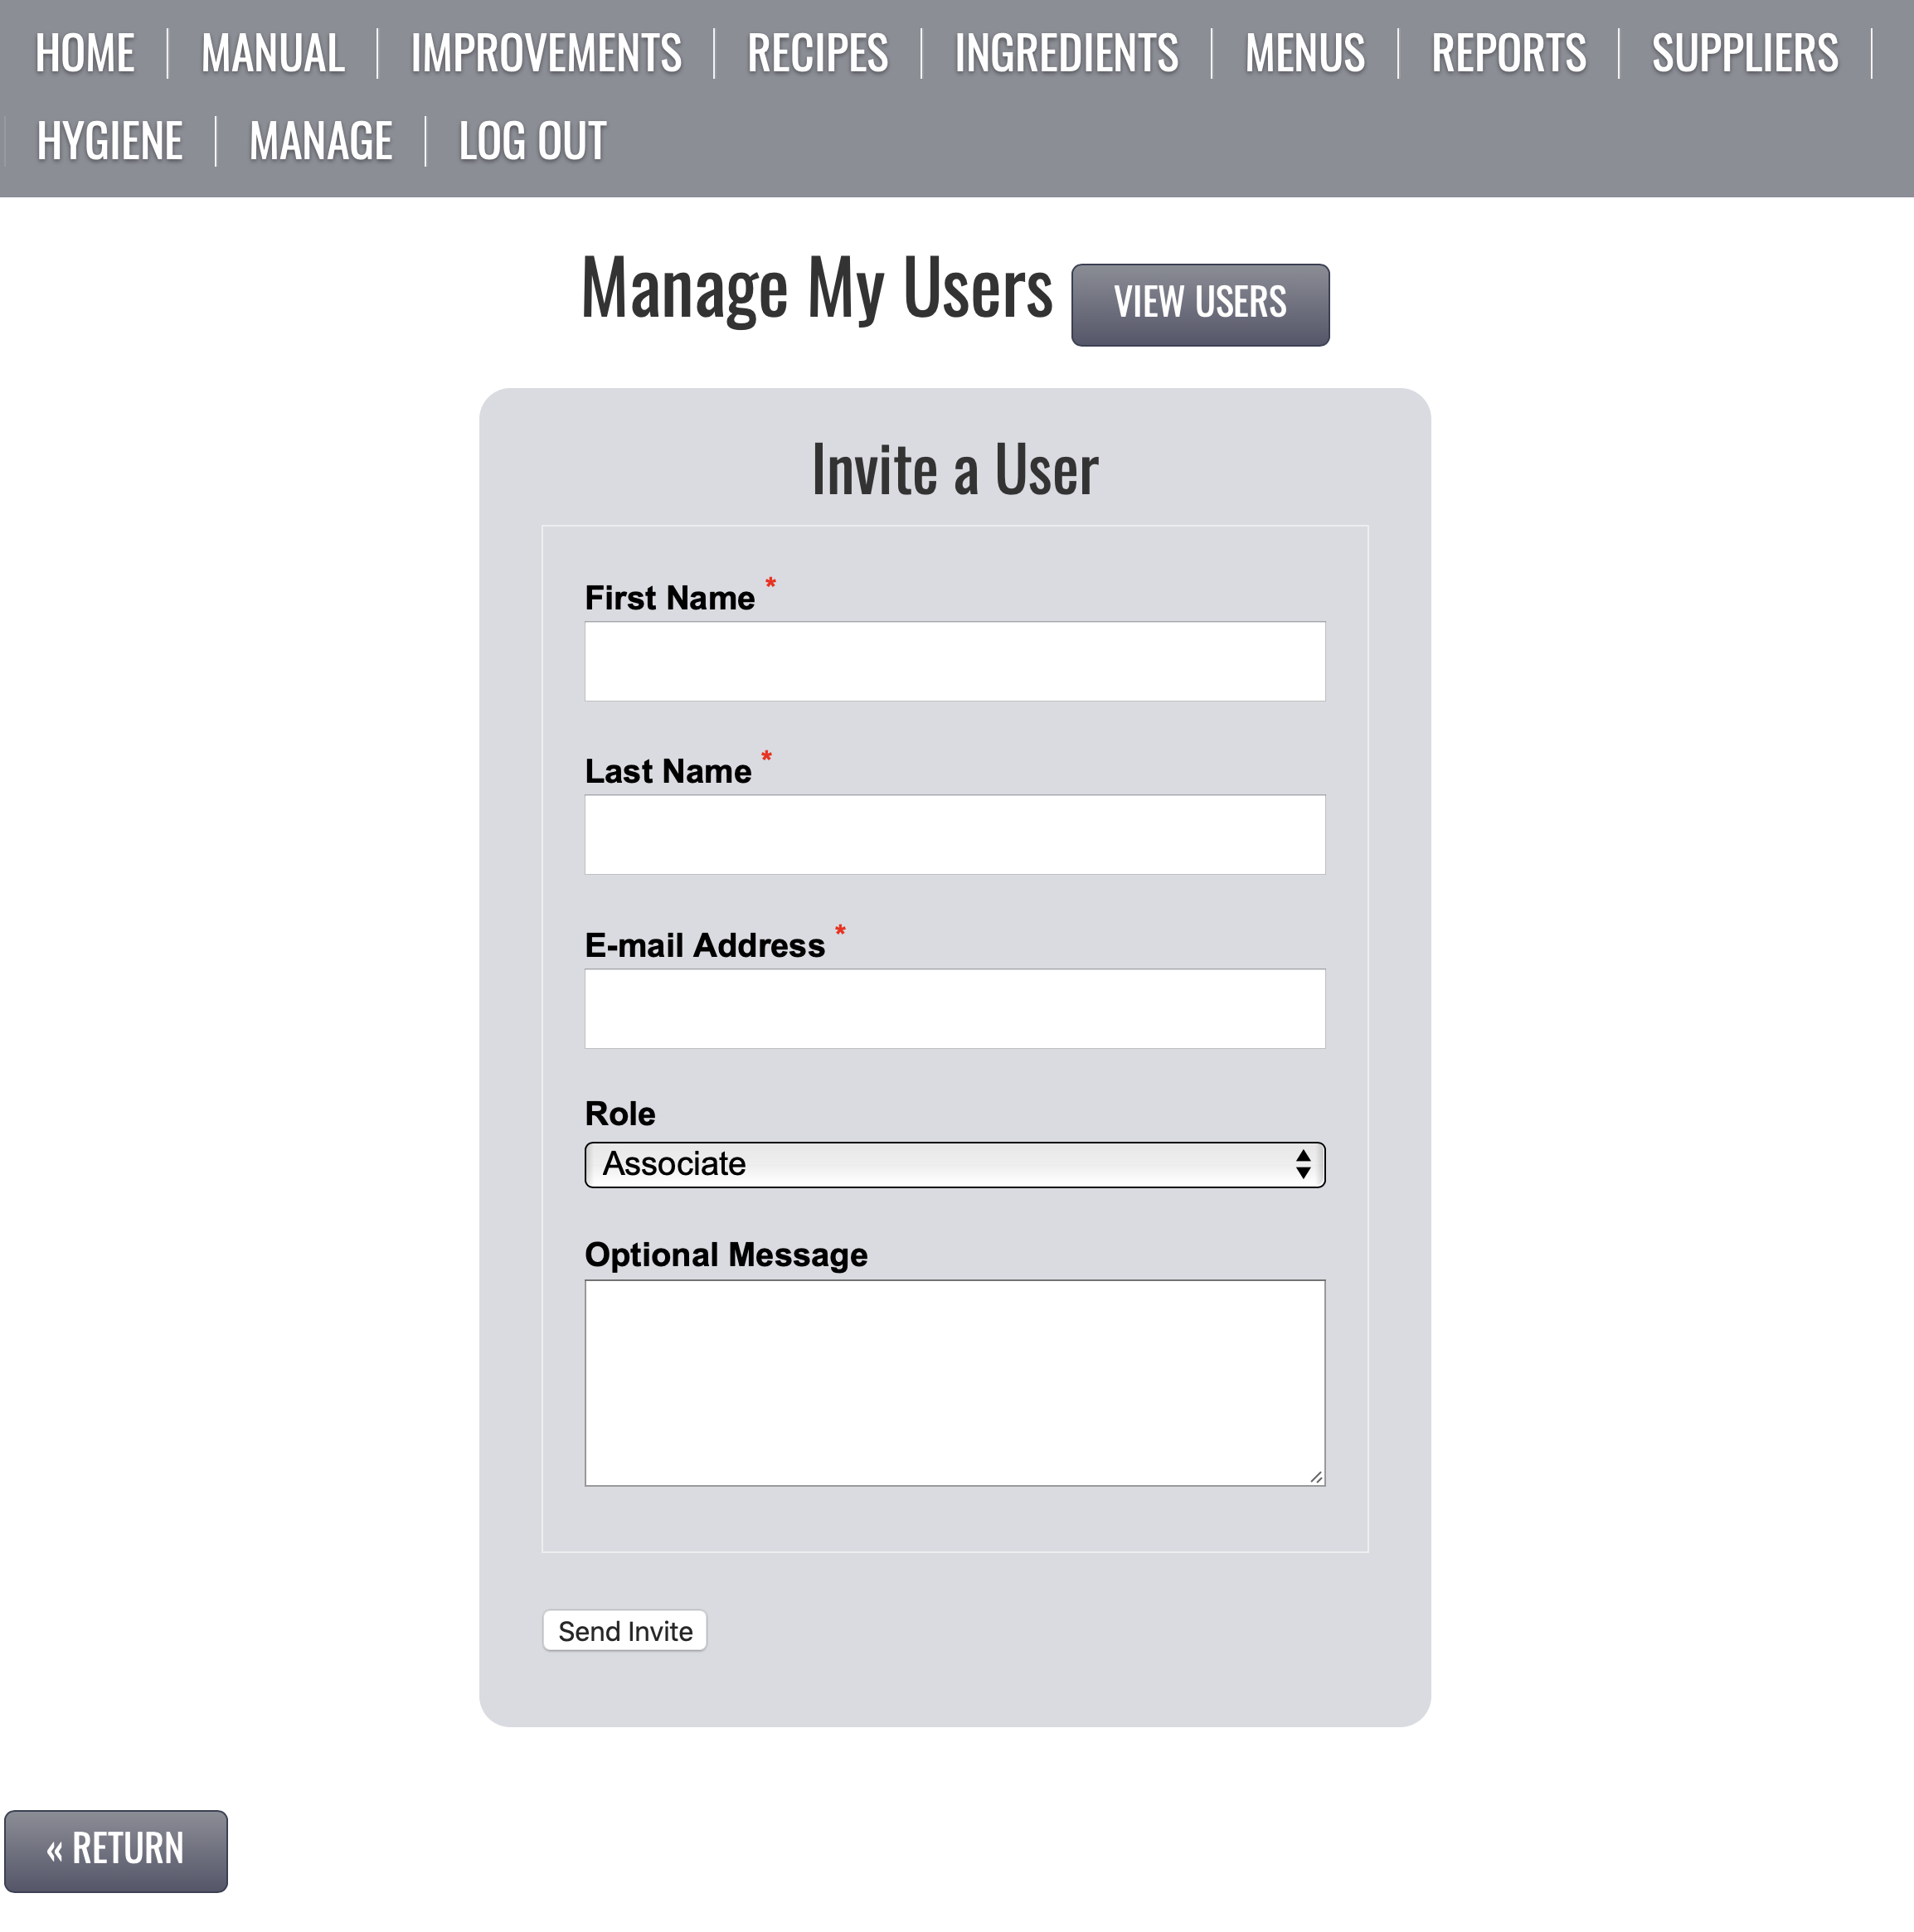
Type in the First Name, Last Name, E-mail Address.
Then select the Role permissions for the invitee. For more information about PERMISSIONS, click this link.
Use the Optional Message to add extra content to the standard email.
EXAMPLE: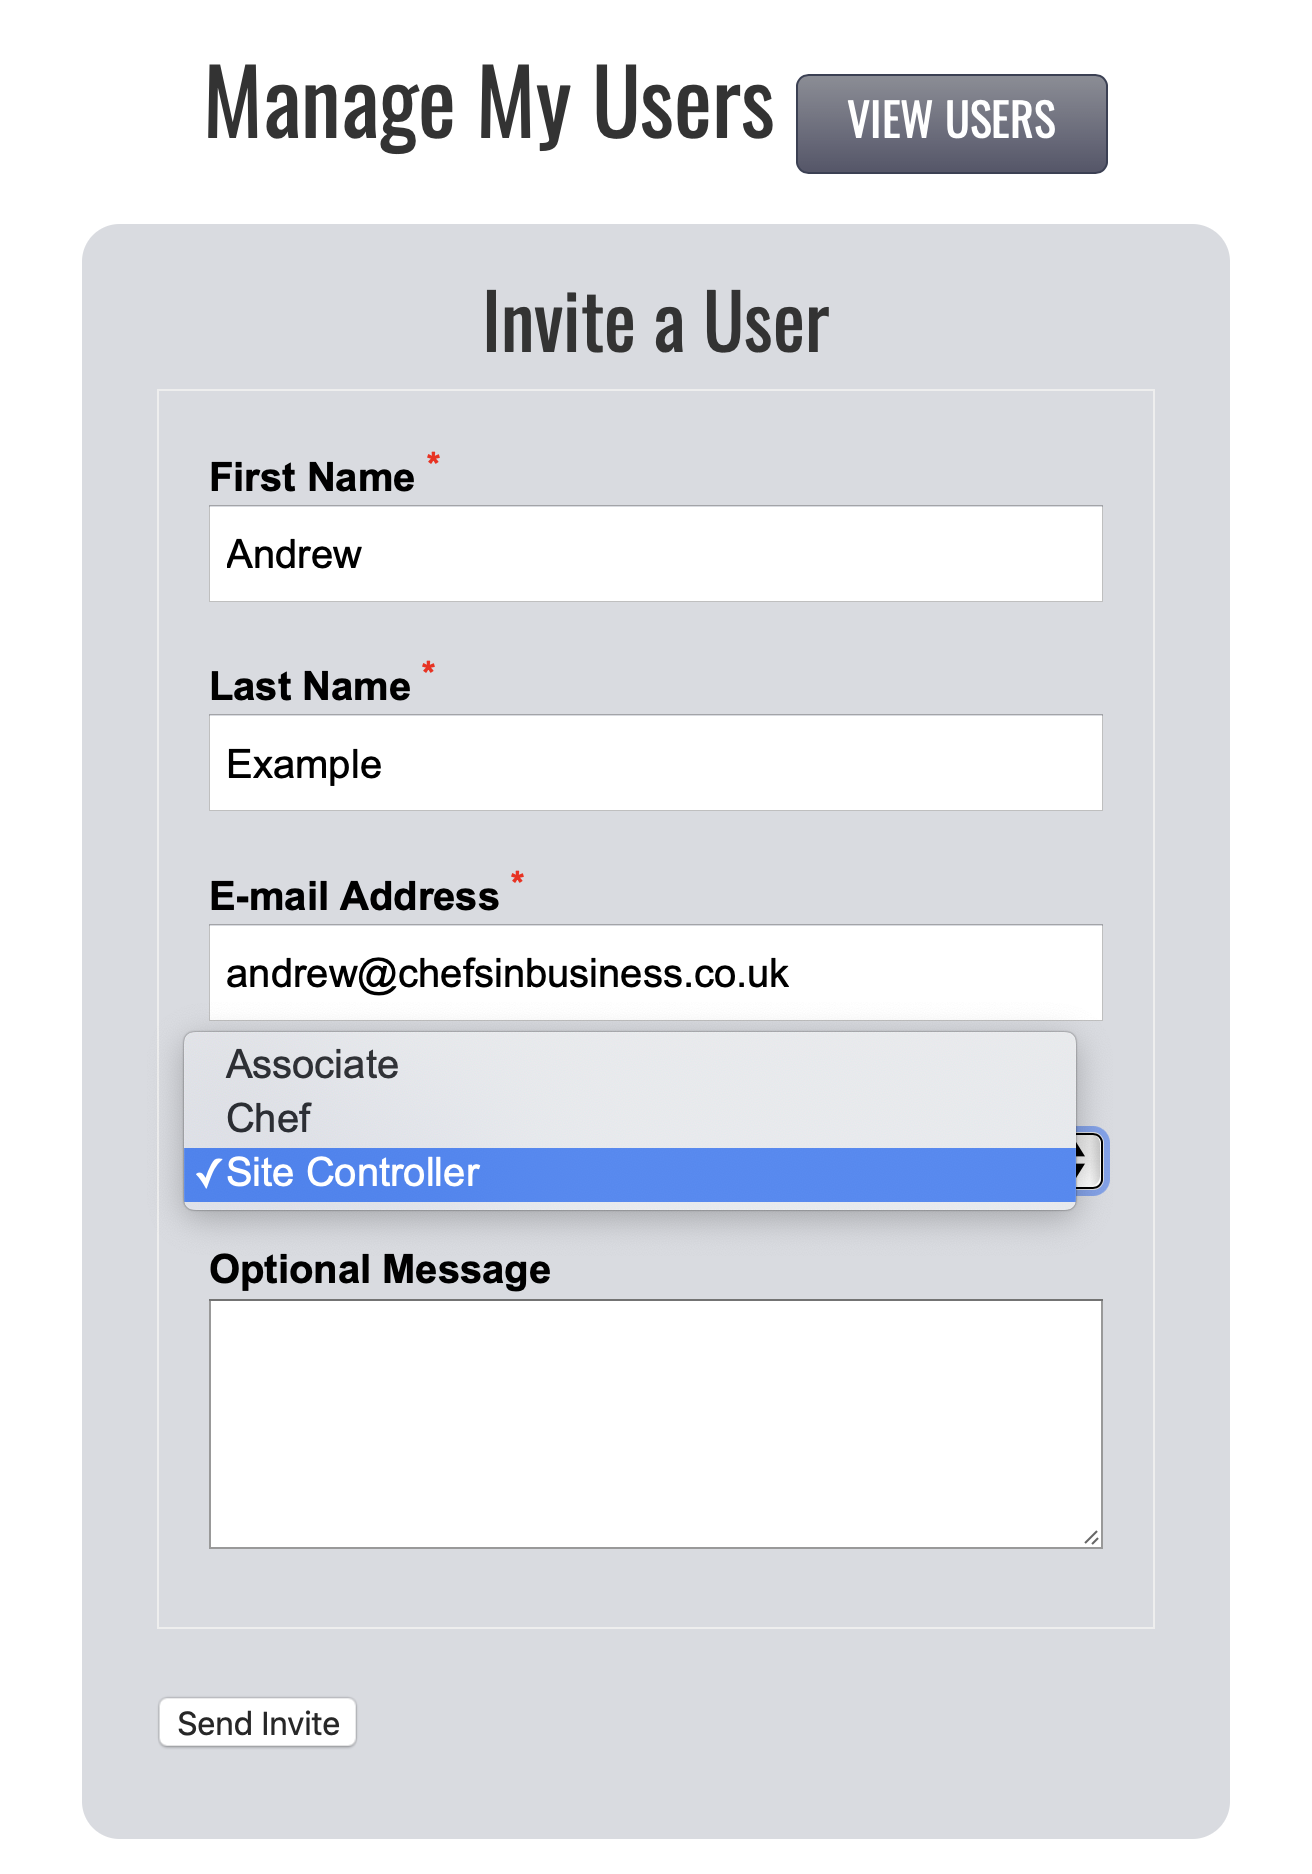
TIP: You’ll see there is no field to add a User Name.
To simplify the process your Chefsbk uses the user’s email address as their username.
This will now show this message: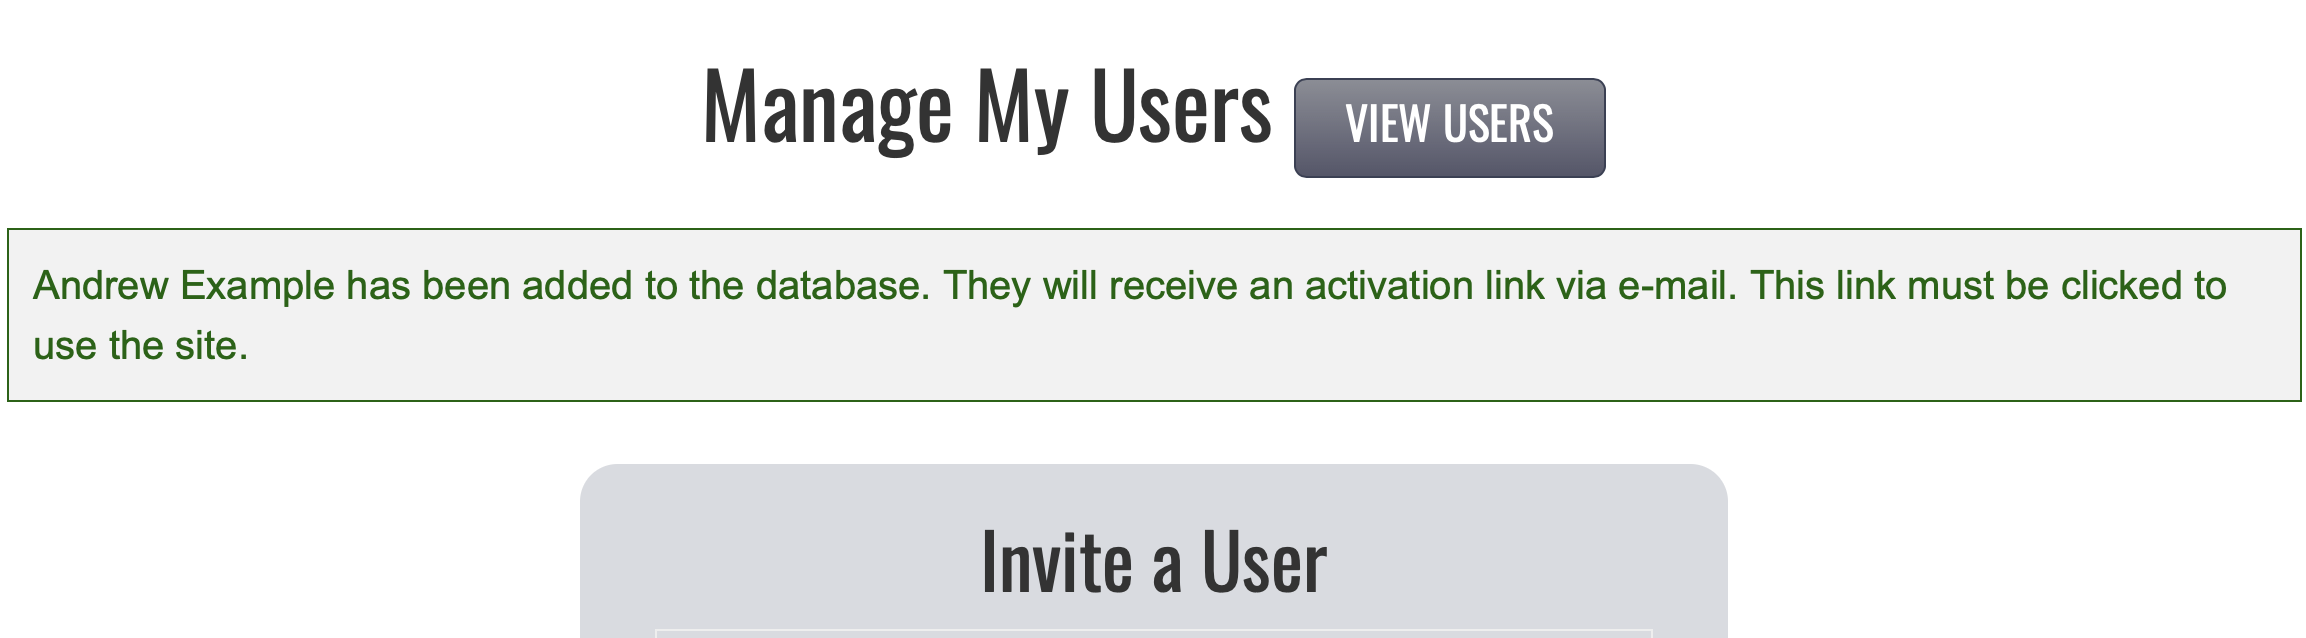
As shown here the invitee will receive this email, with an activation link, which they need to click.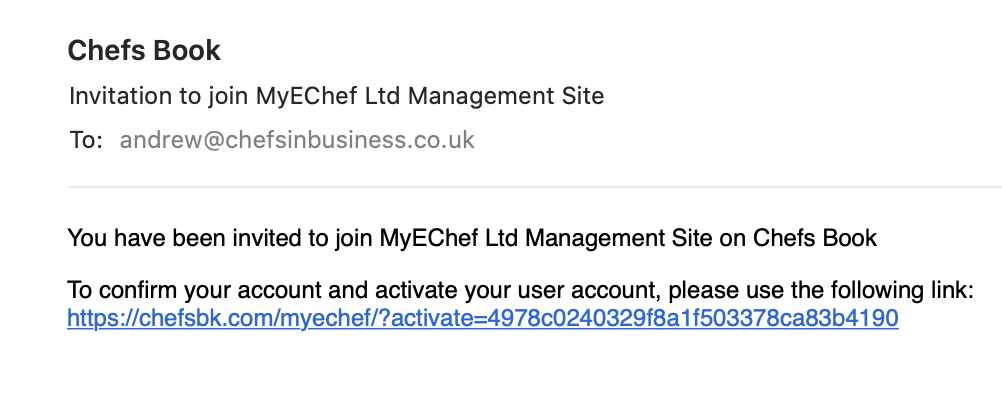
When this link is clicked, a new screen opens for the invitee to complete.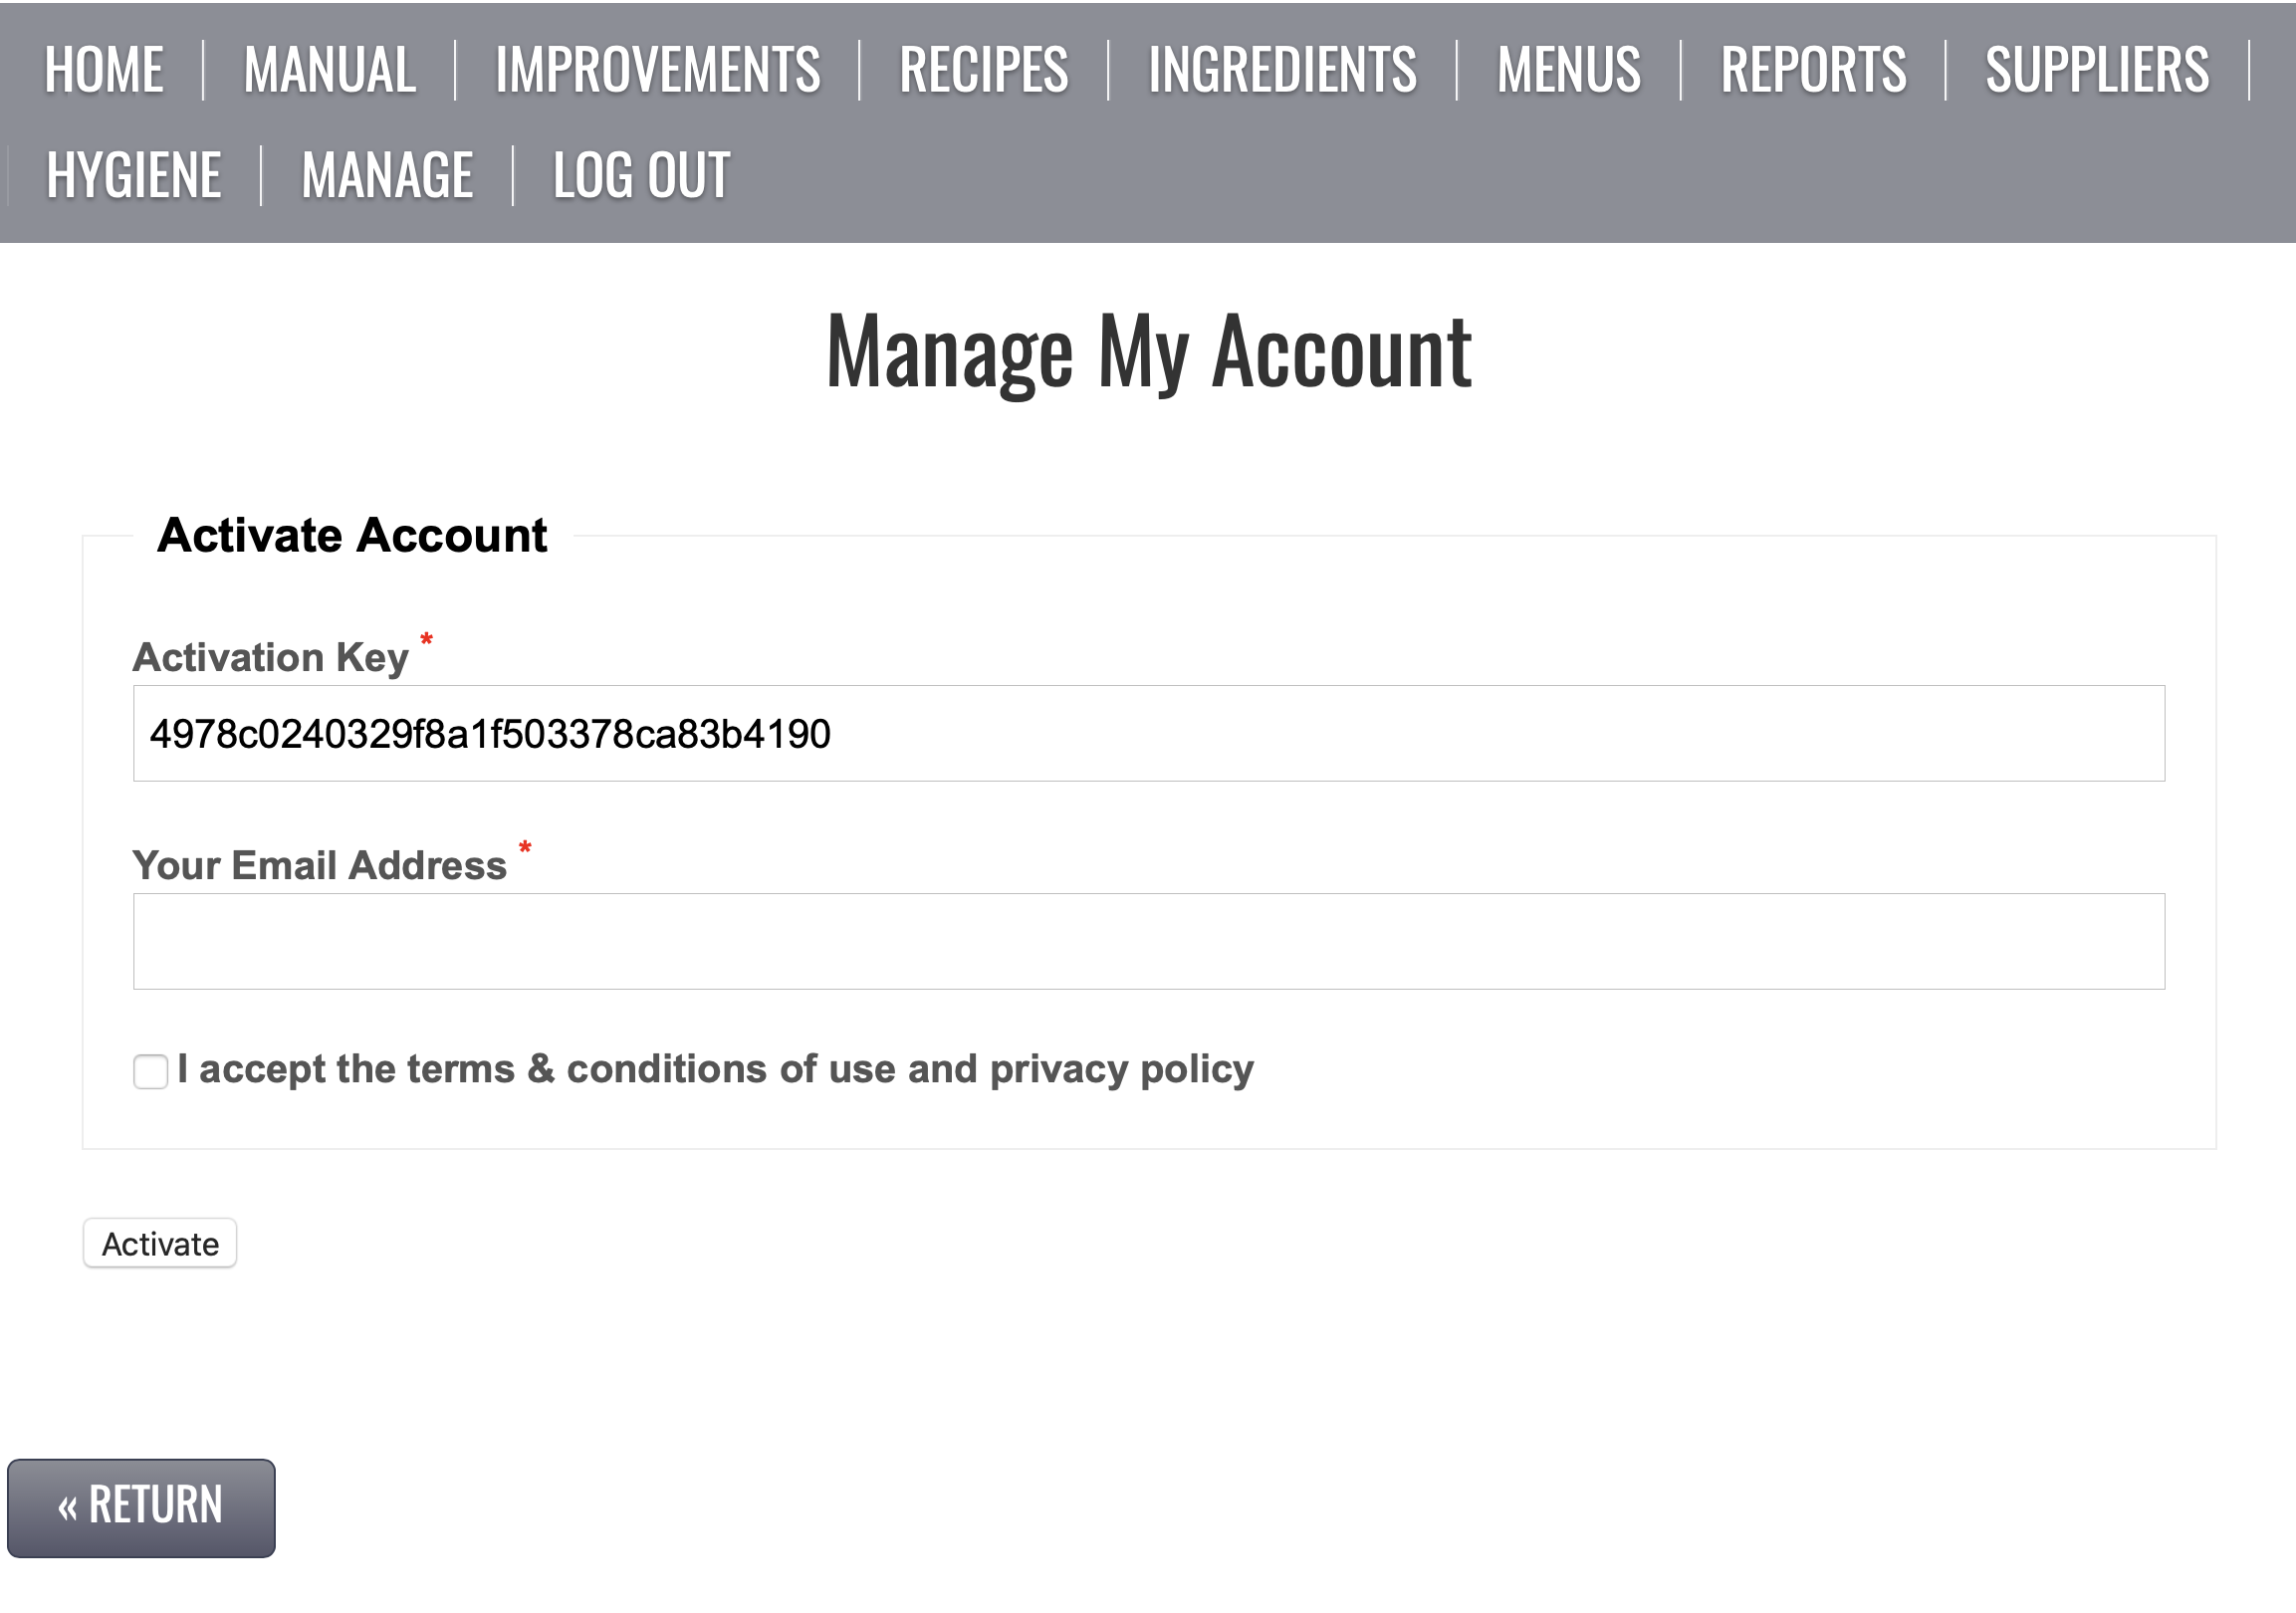
Here the invitee adds their email address as confirmation and after reviewing the terms and conditions and privacy policy accepting them, they click the ACTIVATE button.
EXAMPLE: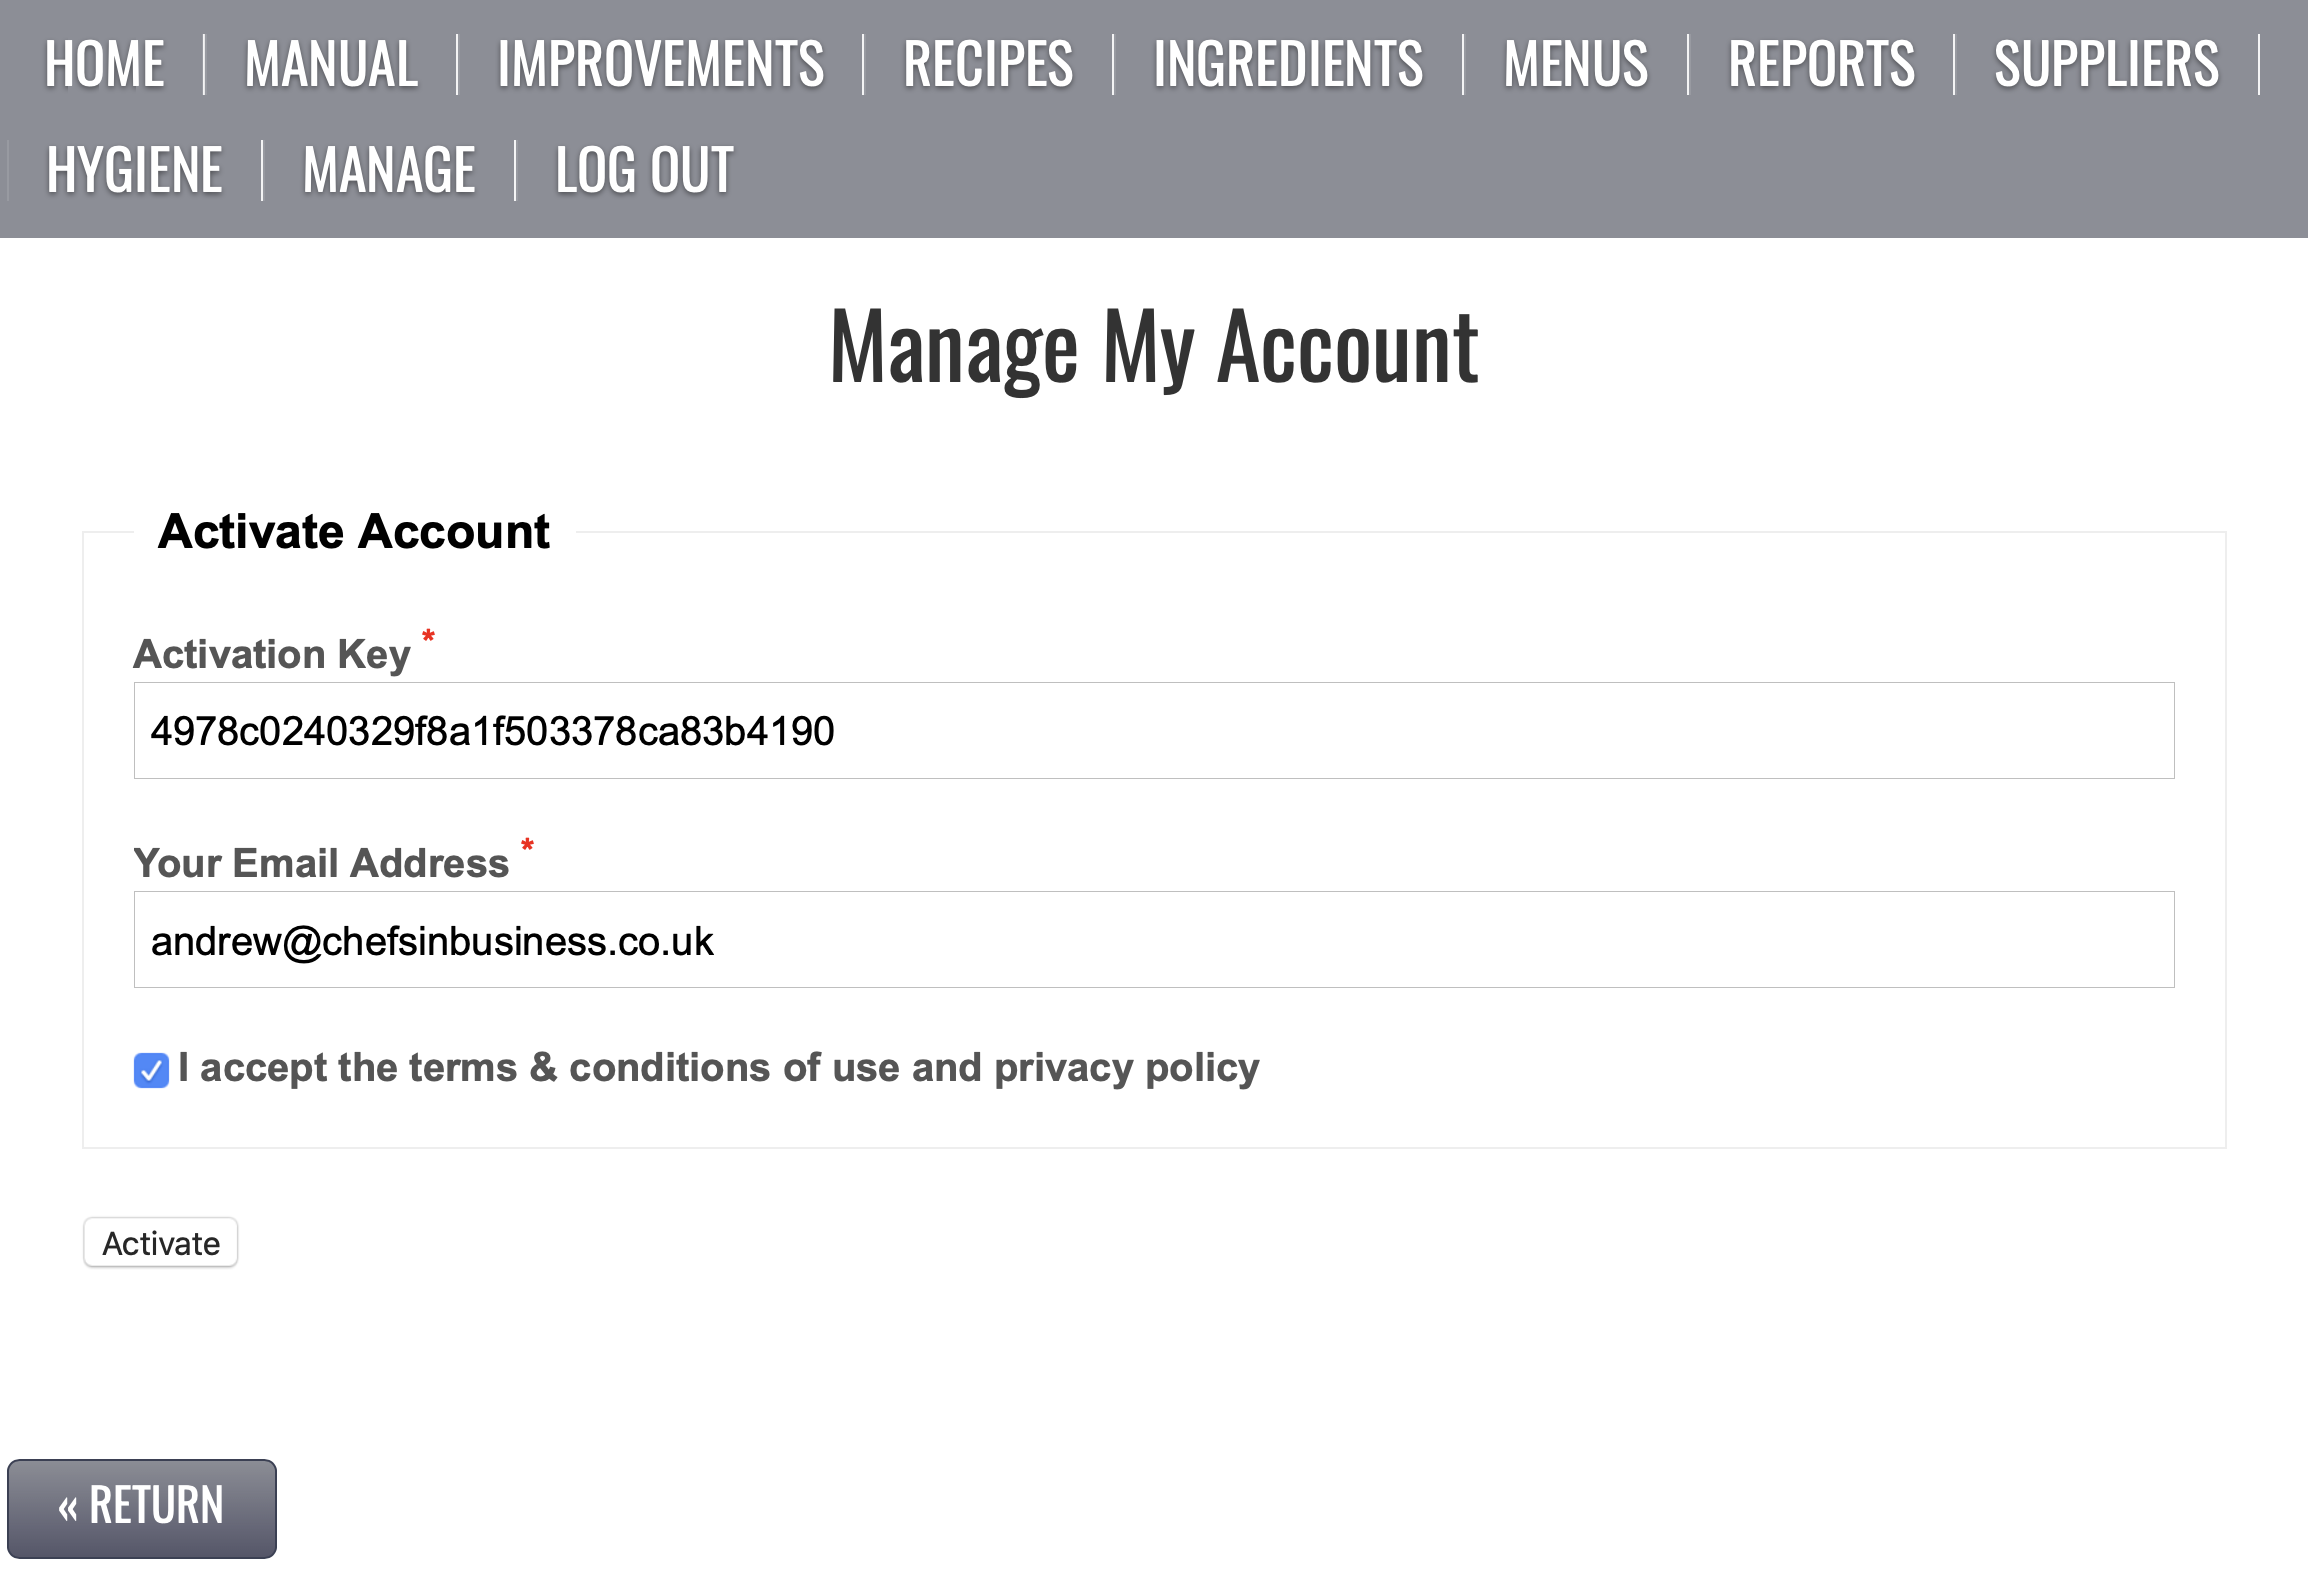
The new user will now be offered a second page to add their password and confirm communication preferences.
When clicking into the password field, they may be offered an automatically generated password, depending on the browser they use.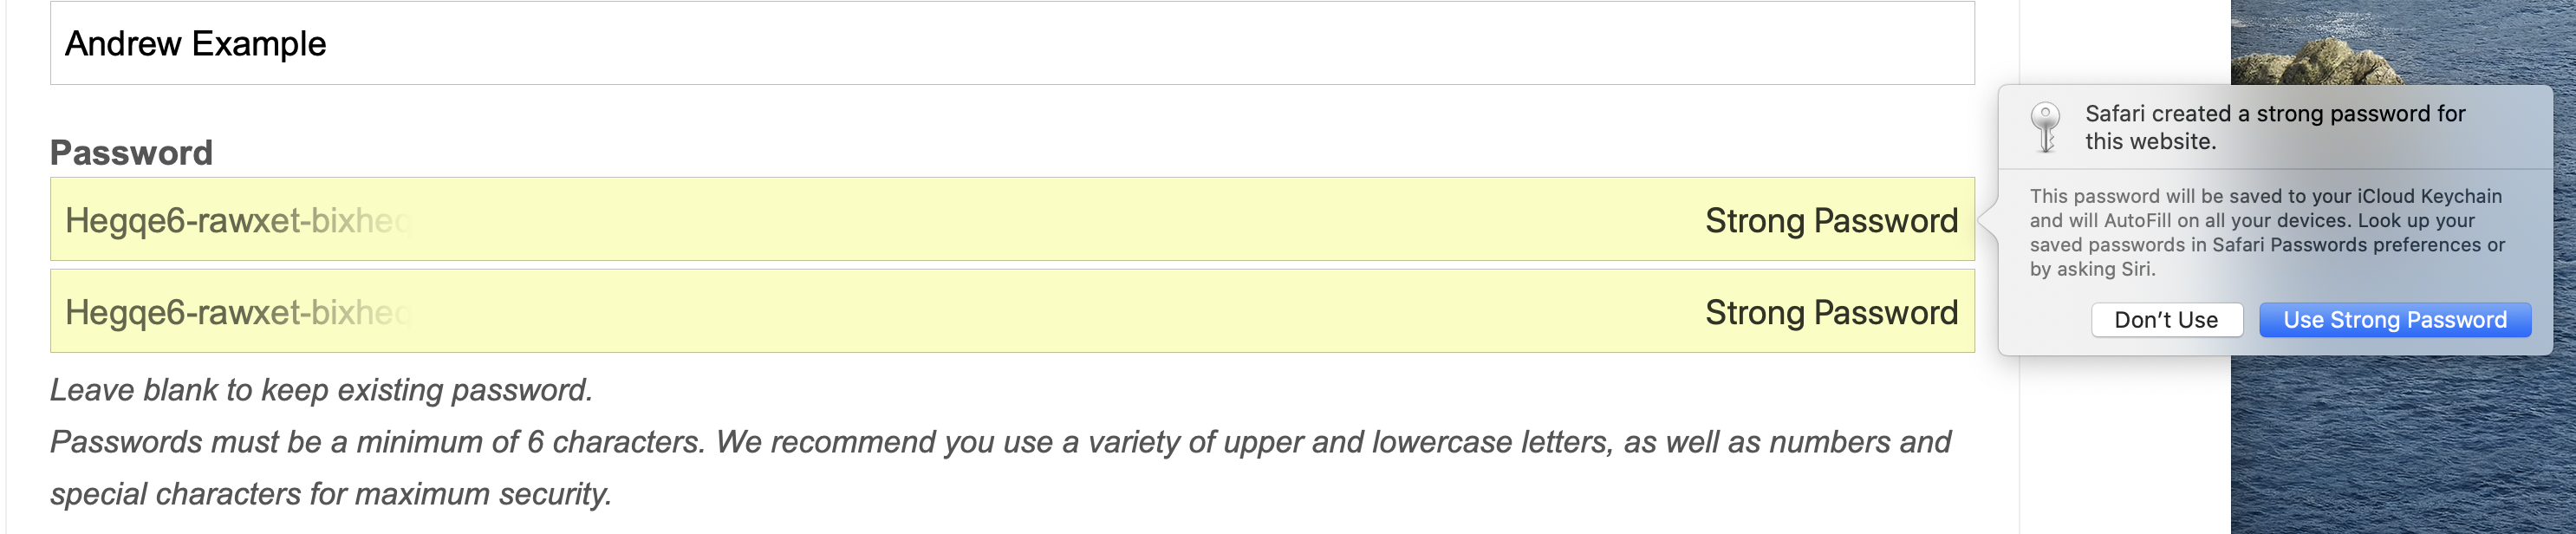
If you want to add your own password, select DON’T USE and enter your new password, then a second time in the row below to confirm it.
Complete the remainder of the screen and click UPDATE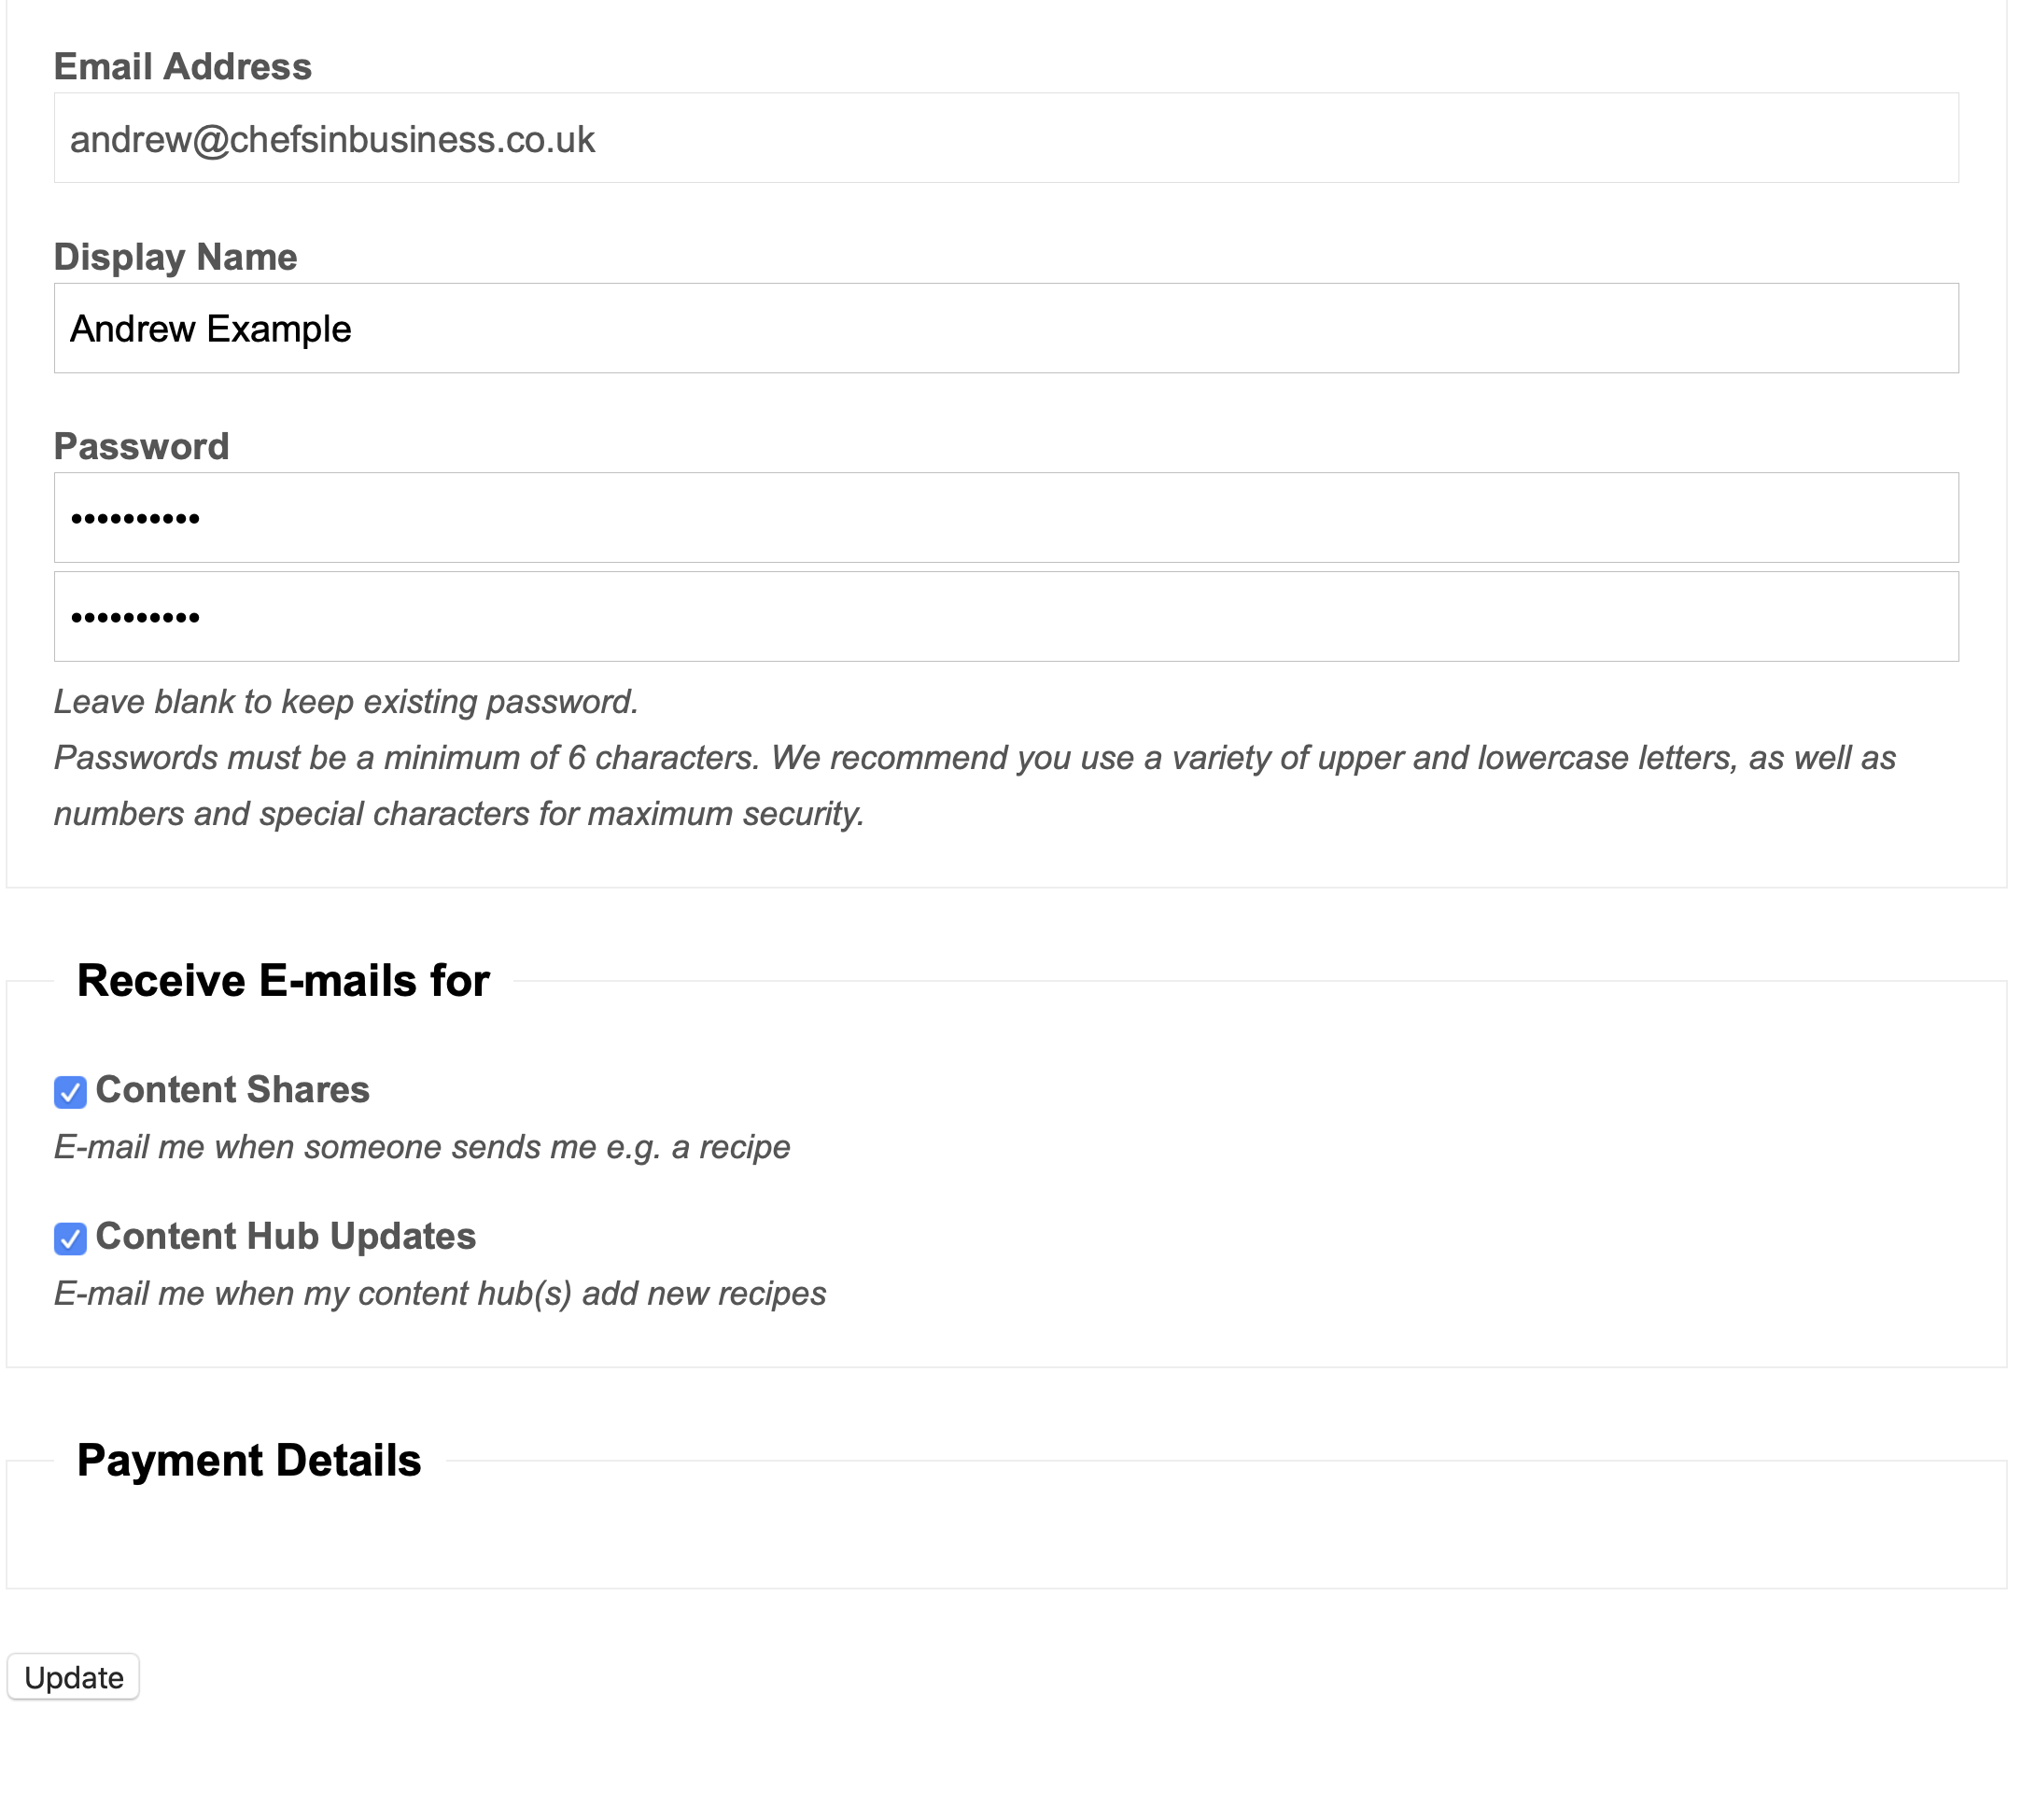
Two emails will be recieved.
Firstly an email confirming activation: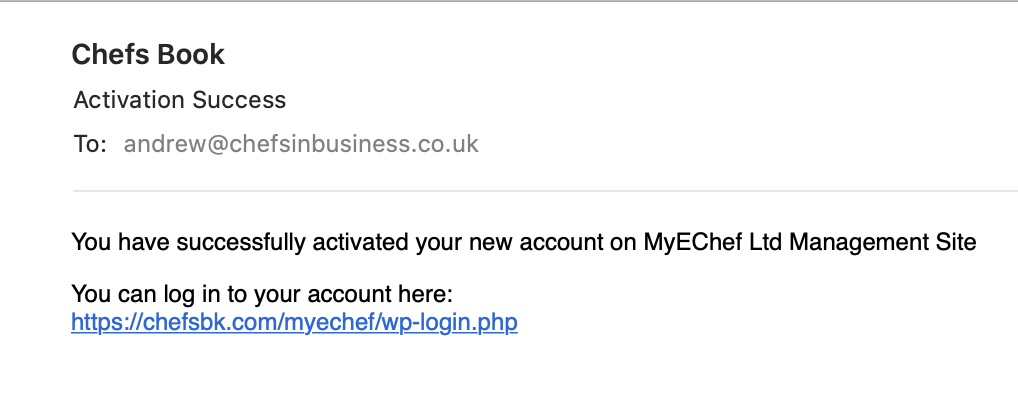
Secondly, a confirmation email confirming their change of password.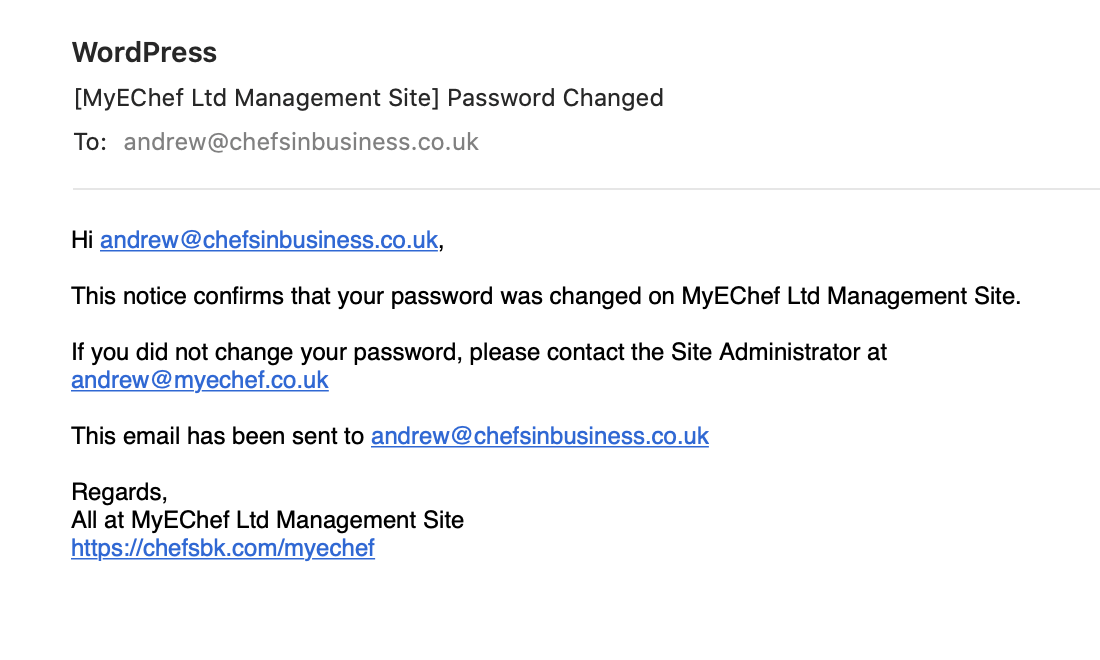
They can now access the Chefsbk.
ADDING AN EXISTING OR PREVIOUS USER TO A NEW CHEFSBK
The Chefsbk system retains usernames and passwords in a global database.
This means that if a Chefsbk user on one Chefsbk is invited to join another, their log in details remain the same for username and password.
However, you may set different log in permissions that are preferred for this new site. This will not change the permissions the user may have on any other Chefsbk as they are site specific.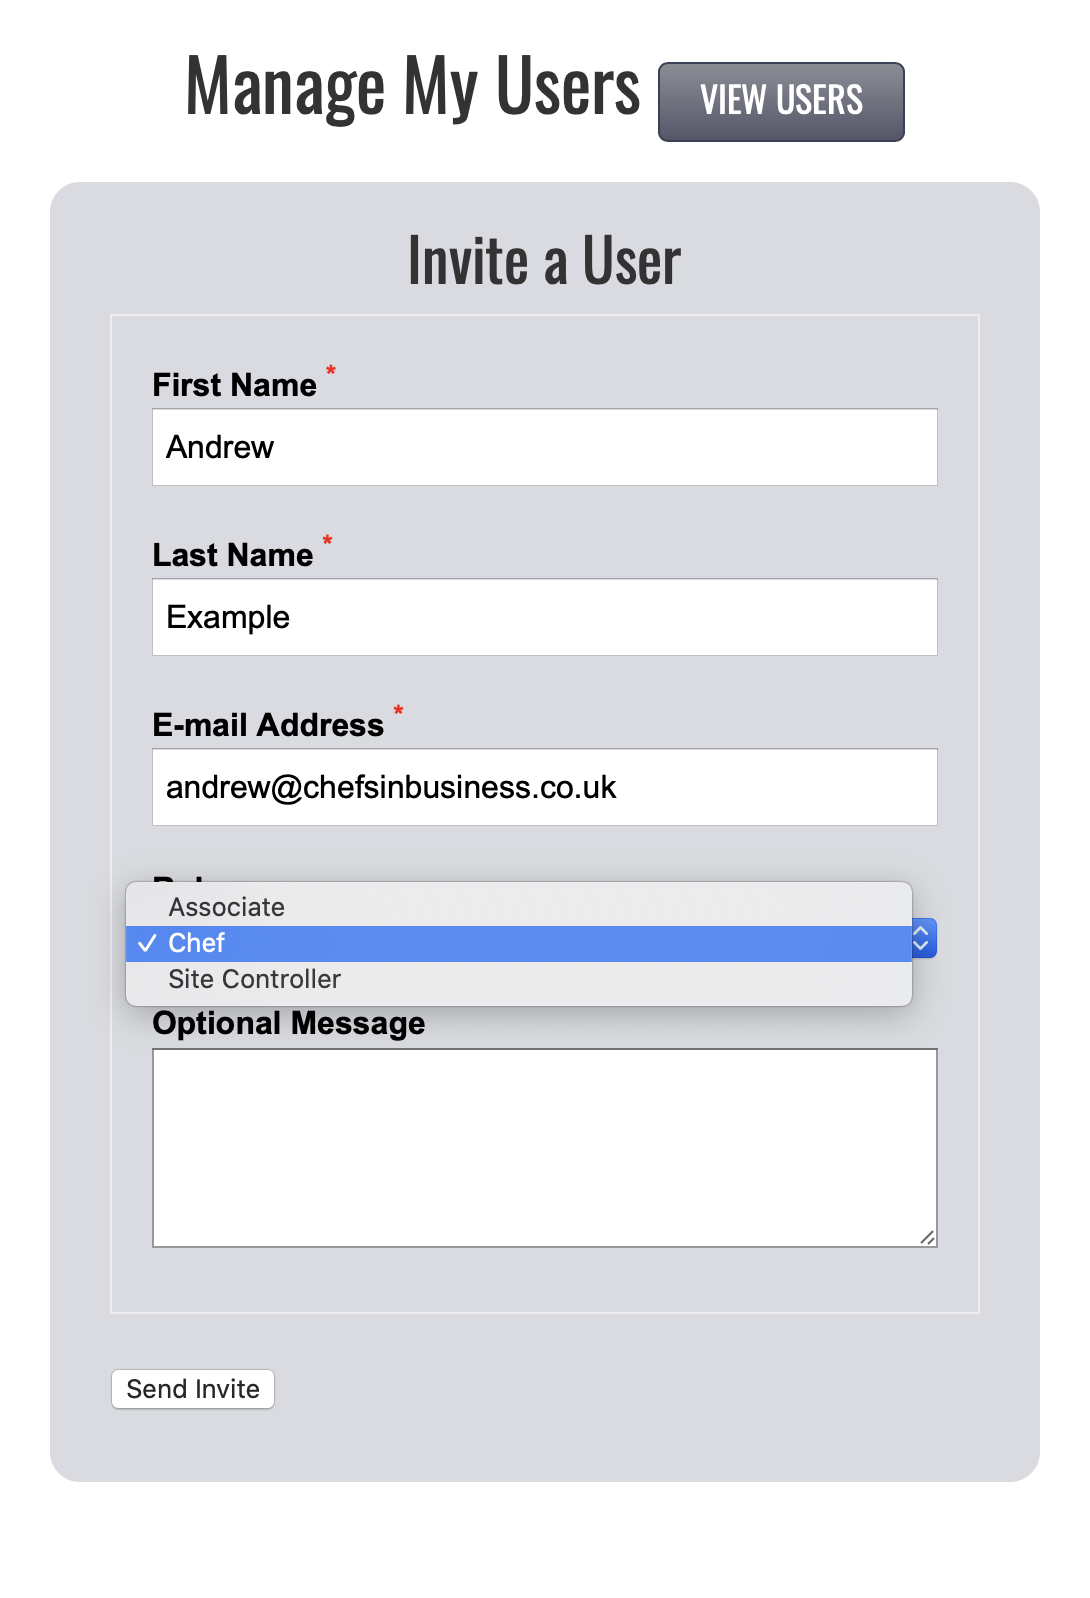
This also works for previous users even though they may not currently reattached to any Chefsbk, unless their details have been deleted permanently by the MyEChef Management team.
When inviting an existing or previous Chefsbk user to a new site follow the same invitation process as you would for a brand new user.
However, your screen will show this message: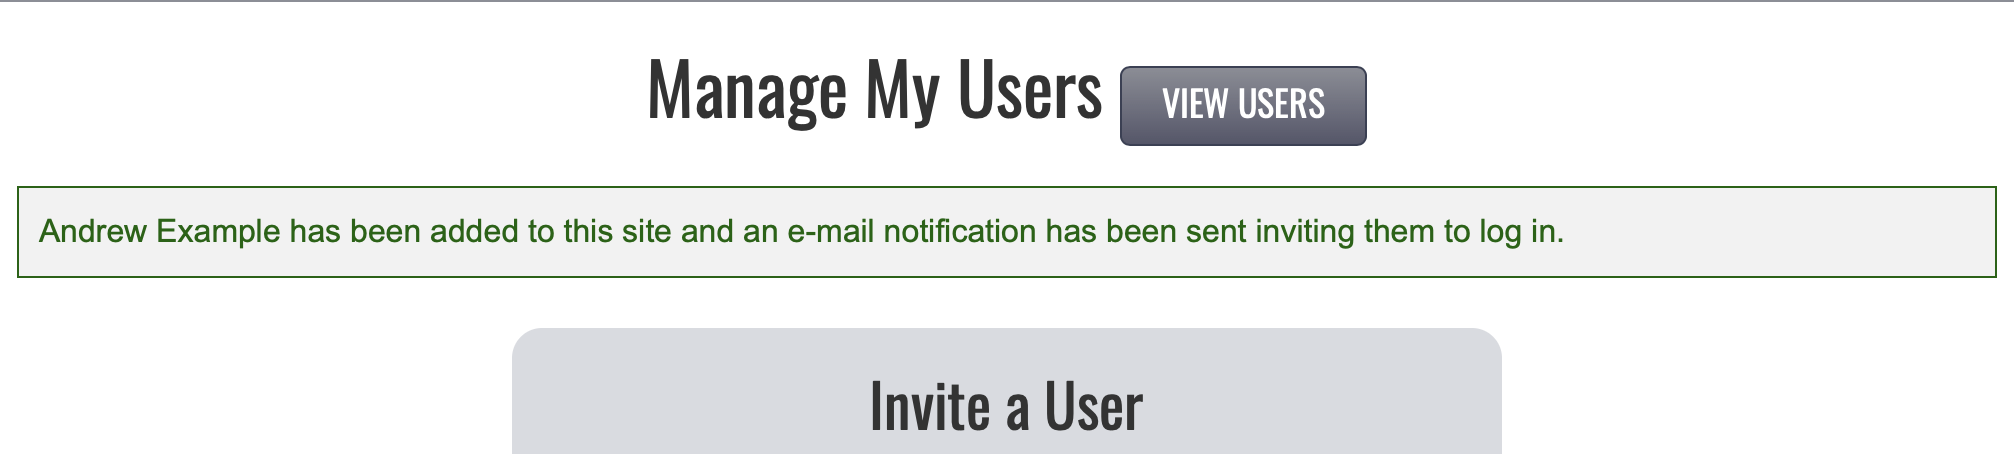
They will not receive an activation email as a brand new user would, but a simple invite to log into the new site.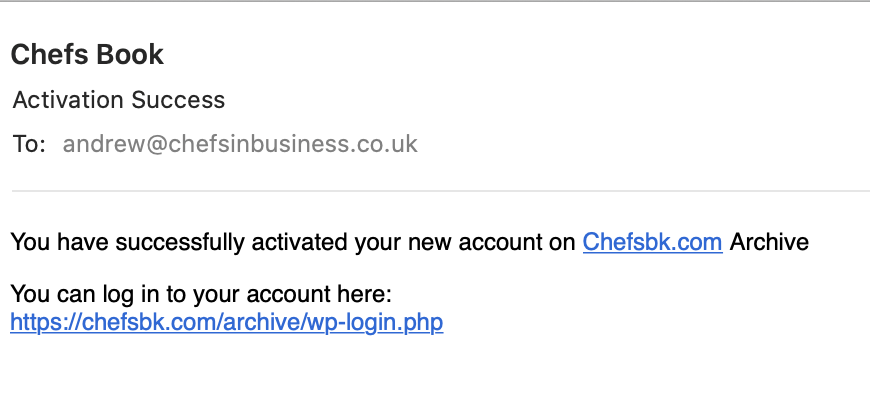
Clicking this link will take them straight to the new site so they can log in.
DELETING USERS
Users can be deleted from a Chefsbk by visiting the Manage Users tab.
This shows all users on the site.
To delete a user, click the BIN symbol at the end of the row.
This removes the users permissions instantly from your site, but no there they may be linked to.
CHANGING USER PERMISSIONS
TBC